Beginner Kit and Increase Kit Assembly Instructions
COMPONENTS
- 1 Outer Cover
- 1 Wooden Inner Cover
- 1 Plastic Queen Excluder
- 2 Hive Bodies with 20 Frames
- 2 Medium Supers with 20 Frames
- 1 Nail Kit
- 1 Reversible Bottom Board with Entrance Reducer
- 1 BeeMax Hive Top Feeder with drown guard (not included with increase kit)
- 1 Varroa Screen with Monitoring Tray and Entrance Closure (not included with increase kit)
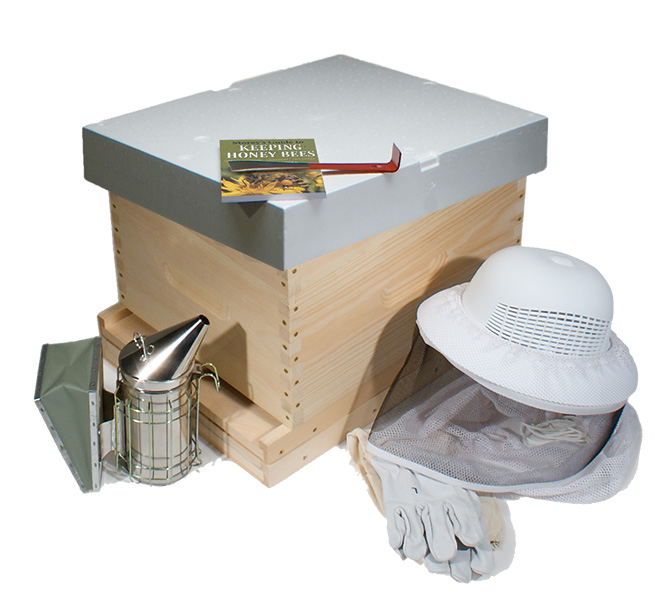
- 1 Hard Plastic Helmet (not included with increase kit)
- 1 Round Tie-down Veil (not included with increase kit)
- 1 Ventilated Leather Gloves (Specify Size)- (not included with increase kit)
- 1 Stainless Steel Smoker with Heat Shield (not included with increase kit)
- 1 Hive Tool (10 inches)- (not included with increase kit)
- 1 Beginning Beekeeping Book (not included with increase kit)
(Note: You will also need a hammer and wood glue, which are not included in your beginner/ increase kit. Optionally, you may want a pipe clamp).
Assembling bee hives is not difficult but it does require attention to detail. It is important to have hives assembled and a location to put the hives selected before the bees arrive. Bees are not included in the kit.
Step One: Lay out hive pieces and do a trial assembly before nailing.
- Each super consists of two long sides and 2 short ends.
- Make certain that all the handles are on the outside and facing the same direction.
Step Two: There are two long sides and two short ends for each super and hive body. Make sure that all of your handles are facing up and out.
Step Three: Dry fit all the pieces together to make a box. Be sure they fit together tightly and the handles are on the outside of the box. (In case you have not figured out, the first lesson we learned when we got our advanced degree from the School of Hard Knocks is that it is difficult to lift a box when the hand holes are on
the inside of the boxes!)
Step Four: Use one 7D nail in each hole and nail one side at a time. Keep checking to be sure that corners are square as you nail.
- Use a small 1-1/4 inch nail to nail the thin top portion of each end to the side. You could also use a pneumatic stapler here.
Step Five: Paint hives with two coats of exterior latex paint. Feel free to be creative with some patterns, they help the bees identify their hive when several are placed in the same area.
- We suggest dark colors for bee hives in the north and light colors in the south. It is also recommended that you only paint the outside parts of the hive, that is those exposed to the weather.
- Be sure to let hives air for at least a week prior to installing bees.
Assembling Frames: Plastic Pierco frames require no assembly. Wooden frames need to be assembled. For best results we recommend both gluing and nailing frames. Wedge top frames are used with crimp wired foundation with hooks. Grooved top frames are used with Pierco plastic foundation and with Duragilt foundation as well as crimp-wired foundation without hooks.
Feeding Instructions: (feeder not included with increase kit)
BeeMax Hive Top Feeder: Be sure that the clear L-shaped plastic divider is inserted into the slot of the hive top feeder. Then place the feeder on top of the hive and fill it with sugar syrup. Cover the feeder with the inner and outer covers. Make sure that bees cannot enter through any notches in the inner cover. If they can access the feed through the inner cover, remove it and store it away from the hive until you are done feeding.
Sugar Syrup: For fall feeding, add enough water to 24 lbs. of sugar to make 3 gallons. For spring feeding, add enough water to 18lbs. of sugar to make 3 gallons.
- Alternative way of thinking of the mixture: Feed 1:1 sugar syrup in spring. This is weight of sugar to weight of water. A pint is a pound, so for 4 pound bag of sugar, add 4 pints or 2 quarts. If feeding in fall, use 2 parts sugar to 1 part water so the bees have thick syrup ready for winter.
- For a 4 pound bag of sugar, you add 2 pints (one quart of water). This will require you to heat the syrup to
make the sugar dissolve.